In this tutorial we will have a look which steps are needed to implement an Edge Transport server in an Exchange 2007 environment.</p>
Installing the Edge Transport server is not very hard and configuring it is not a lot of work. We could start with the setup which will tell us which prerequisites are needed. If you would like to prevent this then download and install the following software before you start the setup:
The Active Directory Application Mode (ADAM) will let the Edge Transport server check the Active Dire tory if a user exists and if not block the e-mail.
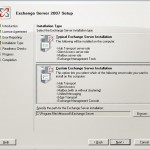
During the setup we choose the option Custom Exchange Server Installation with this option we can choose that we only install the Edge Transport Server on this server. When we click on next we will get the following screen:
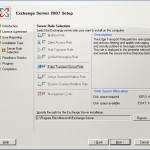
Here we only select the Edge Transport Server Role and click on the next button
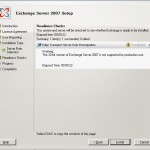
Exchange will first run some tests: it will check if all necessary software is installed and the system meets the systemrequirements. As you can see this is not the case in my situation. I am trying to install the Edge Transport server on a 32-bit OS. This is not supported by Microsoft, in this case it doesn't matter because we run it in a test environment. If installing it in a production environment install it on a server with a 64-bit OS. When clicking on install we continue with the installation.
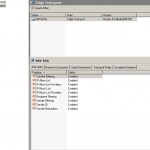
When the installation is finished we can start the Exchange Management Console, this will look like the screenshot below:
You can see that a few tabs are the same as on the Hub Transport Server. These tabs are empty at this moment but will be filled automatically during the configuration.
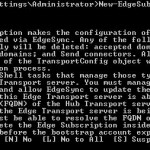
Because the Edge Transport Server and Hub Transport Server not know of eachother we first need to export the Edge Subscription and then import it on the Hub Transport Server. This can be done with the following command: New-EdgeSubscription by executing it with the correct parameters a XML file is created which can be imported on the Hub Transport Server.
The following command will create a file in the root of C.
New-EdgeSubscription -filename "c:\Edgeexport.xml"
When you would like to put it in a directory first create the directory before executing the command.
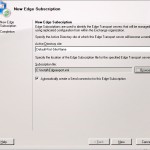
The next step is to import the Edge Subscription on the Hub Transport server. Please keep in mind that this needs to be done within a few hours, else you can't subscribe the Edge to the Hub Transport. To do this we go via the Organization Configuration to the Hub Transport Server and select the tab Edge Subscriptions. Then select New Edge Subscription from the right menu or click somewhere in the white space of the tab with the right mouse button and select the option. When you have done this a wizard will be started.
Via browse select the file just created and select the correct AD Site. When you did this click on New. The option to create a new send connector on the Hub Transport Server is on by default. This connector will be configured to only send mail to the internet via the Edge Transport Server.
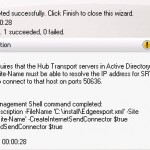
When the file is imported and the connector is created you will get a warning. The Hub Transport Server and Edge Transport Server need to communicate via port 50636.
After completing this the Hub Transport server is ready for synchronisation with the Edge Transport Server. But first we need to configure some things on the Edge Transport Server before we can really start the synchronisation.
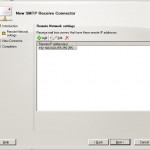
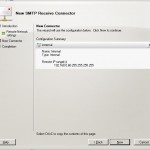
First we need to create a new SMTP Receive Connector on the Edge Transport Server. This can be done via the Exchange Management Console. When we start it we need to go via Organization configuration to the Edge Transport Server and select the tab Receive connectors. By selecting the option New SMTP Receive Connector from the right side of the screen we will get a wizard. Within the wizard we will seect the option to create a connector of the type Internal. When we have done this we click on next, you will get the following screen:
Here we fill in the IP-address of the Hub Transport Server with a subnet mask of 255.255.255.255, this will only allow this IP-address. When we click on next we get a short summary and after pushing the button new the connector is created.
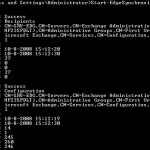
Now we did all preparations it's time to start the Edge Synchronisation, this can be done via the following command Start-EdgeSynchronization
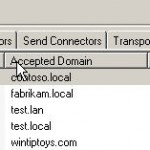
When everything is configured OK we will see that both tasks have the status Success. When you go back to the Exchange Management Console you can see that somethings are imported.
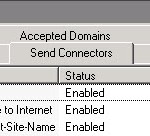
The accepted domains are added to the Edge Transport Server and 2 new Send Connectors are created.
When we now go back to the Hub Transport Server you will see that also there 2 new Send Connectors are created.
One connector is used for traffic to the internet, this will be send to the Edge Transport Server. The other connector is used for receiving mail from the Edge Transport Server.
Now the only things that are needed to be configured are the rules for the different agents. This will fall out of this scope of this tutorial but are described in an earlier tutorial Install Anti-spam Agents on the Hub Transport server
